
Important is that the system can generate order forms (every order on a separate page) or order lists (multiple orders on one page). This (forms or lists) applies to all types of printouts.
The system supports three types of order print forms: regular, rush and express. Because of this distinction it is possible to differentiate between urgent and less urgent orders (e.g. regular orders can be printed once a week and for more urgent orders “rush” or “express” is used so they can be printed daily). The combination of ten types of printouts and three recipients potentially gives thirty types of printouts.
After choosing the option ‘Layout' from the main menu in AFO 271 an overview screen is displayed with all ten types of printouts in combination with all types of recipient. The ‘OK' denotes that a layout has been defined for a particular combination.
: Use this option to define layouts for all types of output sent to a supplier. See section 271.3.1.
: The procedure is identical to print for supplier.
: The procedure is identical to print for supplier.
: Use this option to copy profiles. See section 271.3.2.
: Use this option to define additional layout for partial order lines. See section 271.3.3.
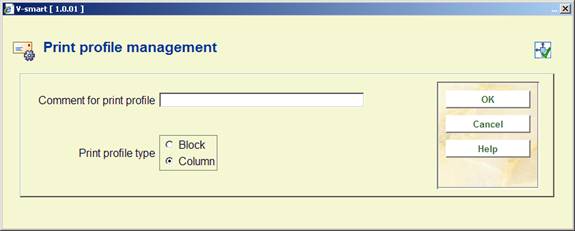
Select a type of printout and click this icon to design the layout of this printout for the supplier. When doing this for a new layout the system will display the following input forms:
·
Print profile type: choose “Blocks” to have the data printed in blocks for each title (order information will be displayed in blocks containing a line for each element defined) or “Columns”(order information will be displayed in columns containing the various data elements for all orders).
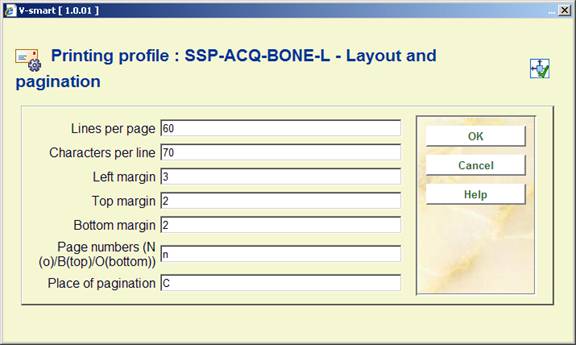
This input form deals with the various setting for the page layout. The options for Place of pagination are: C (centre), L (left), or R (right); they have no effect if the previous option (Page numbers) is set to ‘N'.
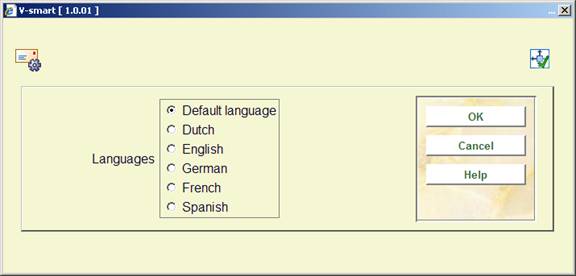
This input form allows you to define text for top and bottom of the forms in various languages. After choosing a language and clicking the form is presented:
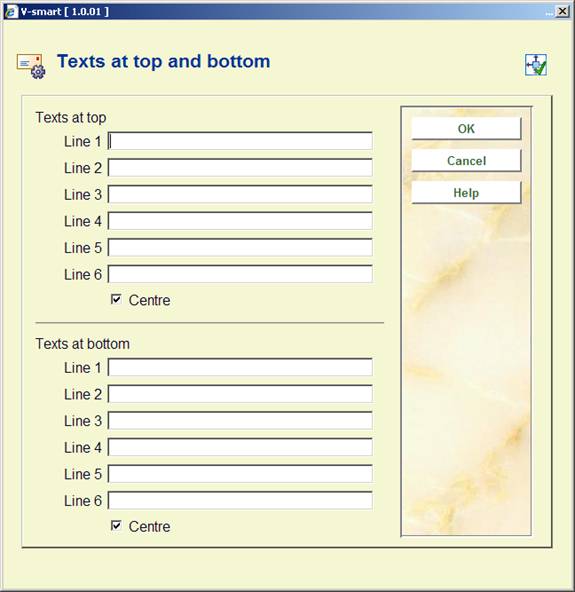
Enter texts as appropriate and repeat this for as many languages as necessary. When you have finished this section click to proceed to the next form:

This form deals with the general characteristics of the order (or claim or cancellation) notice.
The No columns/blocks option allows you to define the number of columns or blocks (depending on the choice you made on the first screen) containing data such as title, order number, price etc. you want to print on the order (or claim or cancellation) notice.
Next you are prompted with this input form:

Choose the appropriate data element from the dropdown list and click .
The next input form allows you to define labels (Blocks) or headers (Columns) for the chosen data element in several languages:

After which you are prompted for more parameters regarding the positioning etc. of this data element:

The system will repeat this prompt for the number of blocks/columns you specified in the earlier screen.
When you have finished the system will display a screen similar to the example below. You must now complete the layout by amending the following sections.
Free text: when you select this a new menu is displayed:
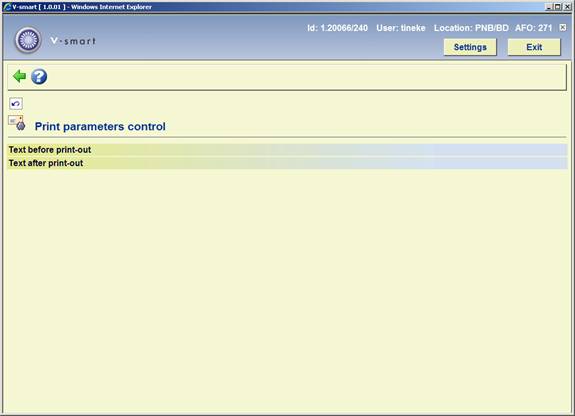
Choose Text before print-out to define the text that will appear at the beginning of a letter. Again you can do this for several languages:
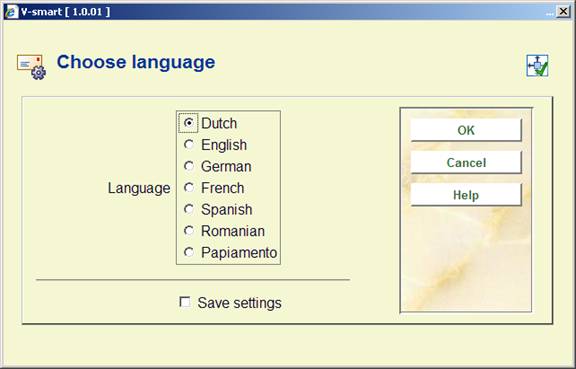
After choosing a language you are presented with an editor window:
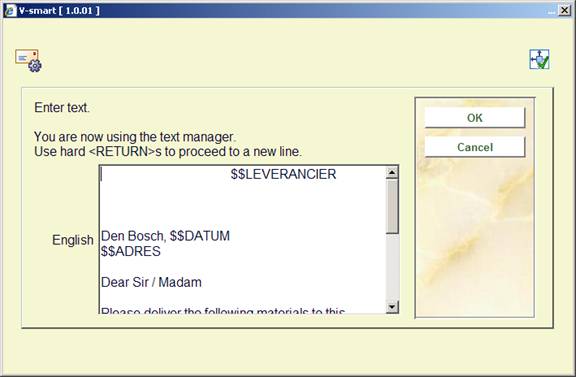
Enter texts as appropriate and repeat this for as many languages as necessary. When you have finished this section click to return to the menu. Then repeat this for Text after print-out to define the text that will appear at the bottom of a letter.
Valid codes to be used here are:
· $$DATUM: To add ‘today's' date to a letter.
· $$LEVERANCIER: To add the Supplier name and address to a letter. This will be taken from the definition in AFO 241.
· $$AANVRAGER: To add the Requester details to a Requester notice. The details will be taken from the definitions in AFO482 – Borrower Address SSP Print Setup and Borrower Address Priority Setup.
· $$SHIPTO: To add the Ship to address to a purchase order. The $$SHIPTO variable must not contain trailing spaces. The information as defined in AFO 244 – Destinations – ShipTos will be used. You can choose to sort printed purchase orders by Ship to address (AFO 272 Generate new page when Ship to address changes).
· $$ADRES: When you don't use multiple addresses but just want the address from AFO 617, use the variable $$ADRES instead of $$SHIPTO.
Note
Variables must always be the last thing on the line which will be printed If you add text after a variable it will just not appear on the printout.
When you select an already defined type of printout from the overview screen, the system will display a screen as shown in the example below immediately:

: The standard form for generating output will be presented. You can print the complete definition of the defined layout.
Note:
This will not print a sample letter based on the layout, just a listing of all the definitions that have been made.
: To add a free text explanation to this layout definition.
: To the delete the whole definition of this layout. You cannot delete lines from the ‘Blocks' (or ‘Columns') definition.
: Select two lines from the ‘Blocks' (or ‘Columns') definition (by using mouse and the CTRL-key) to swap their positions. This can be useful when you have made a mistake, because you cannot delete lines from the ‘Blocks' (or ‘Columns') definition.
Note:
Line 4 (General structure) determines the number of lines (‘Blocks') or (‘Columns') that will actually be printed. So more ‘Blocks' (or ‘Columns') can be defined than are set in this parameter. Make sure you amend this setting when you wish not to print all ‘Blocks' (or ‘Columns'). Again this can come in useful when you have made a mistake: use the option first to move a no longer required data element to the last position. Then decrease the number specified in General structure.
See the previous section for information on the various fields how to edit them.
When you select the data element Receival information in one of the blocks (most likely for the layout of the form to be printed for receipt of individual items), there will be additional information that can be defined.
Note
This works best for a “block” type layout. Receival information will be displayed as an individual matrix. You can define this for a “column” layout too but probably will not look very good.
After clicking on the third form, you will be presented with yet another form:
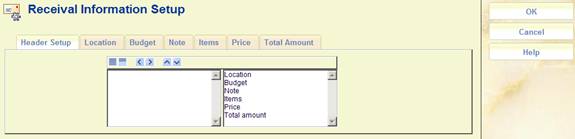
On the first tab you can select the blocks to be printed and the order in which they should appear.

On the other tabs you can define wording in each language as well as the column width for each element. This is the column width within the Receival information matrix.
: Use this option to copy profiles. After selecting this option the following form will be displayed:
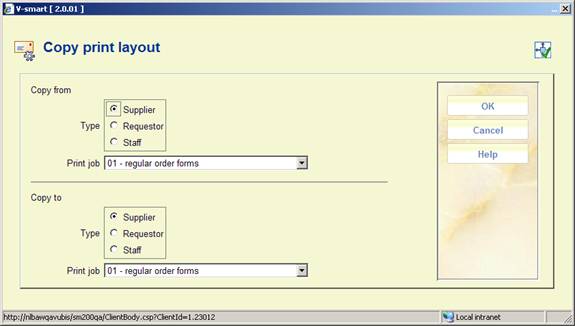
Select the appropriate profiles to copy from and to. After clicking , the screen will be redisplayed (the system has copied the data from one profile to the other).
When you select the data element Formatted partial order line in one of the blocks/columns, there will be additional information that can be defined.
This data element has some special properties. From the point of view of the printing setup, when compared with other data elements, this is a single field which may be output as a column or block in the regular way.
However, this data element may itself be made up of several individual fields from the partial order level for a given order, as described below.
For example, the contents of the “Formatted partial order line” itself might be made up of the “shipto” location, the shelfmark and the number of copies. Suppose for example we had an order with 3 partial order locations, with shipto codes “Alpha, Beta and Gamma", with associated shelfmarks “123.45”, “ Oversize 123.45”, “123.54” respectively (i.e. in this perhaps unusual case we have 3 different shelfmarks). Then the output field for the “Formatted partial order line” would be made up of three lines, such as (for example):
Alpha
123.45 2 copies
Beta
Oversize 123.45 1 copy
Gamma
123.54 1 copy
The Formatted partial order line data element allows you to print partial order line information in a tabular form.
The Formatted partial order line may be added to any order print form, BUT the actual content of this data element is defined for the Acquisition system as a whole. If this data element is used on several different notices, then its structure and form is identical on each output.
You need to make this generec definition with the option on the main screen. After selecting this option an input form will be displayed:
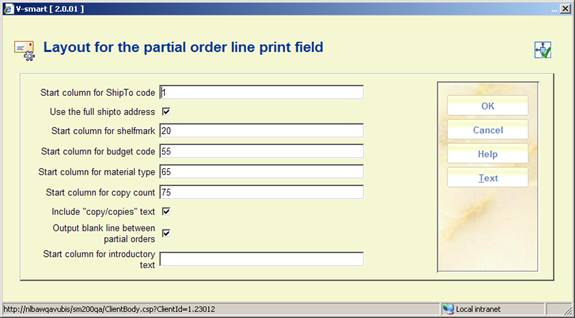
For each of these fields, as can be seen in the form above, the column position INSIDE the formatted field is defined. If a field is NOT required, then the output column can be set to 0 or blank.
Start column for …..: use these fields to define the start column for the various elements.
In the above example, the Shipto code appears in columns 1-18, the shelfmark in columns 20-53 and so on. The system automatically reserves 1 blank space between the columns.
Use the full shipto address: When this option is checked the system will output the Full address of the Shipto code, rather than the code itself.
Include copy/copies text: When this option is checked the system will output the copy count (for the partial order) in the form “1 copy” or (17 copies), rather than just the numeric amount.
Output blank line between partial orders: When this option is checked the system will output a blank line to separate out the individual partial orders.
Start column for introductory text is discussed further below.
For output by columns, the above settings will generate an output looking like
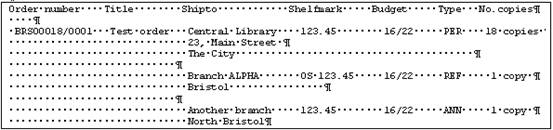
The heading “Shelfmark Budget Type No. copies” was created by entering this into the heading for the Formatted partial order field, by manually spacing the heading out.
Note that the Full shipto address is split onto multiple lines. Multiple lines may also be generated if the particular data value is too long to fit into the column width defined.
Finally, it is also possible to define “introductory text” for the partial order line. This is most relevant if the data is output as “blocks” rather than columns. The specific text to be shown is defined by using the “” button on the input form – which allows you to enter the specific leading text.
This asks you to select a (supplier) language code:
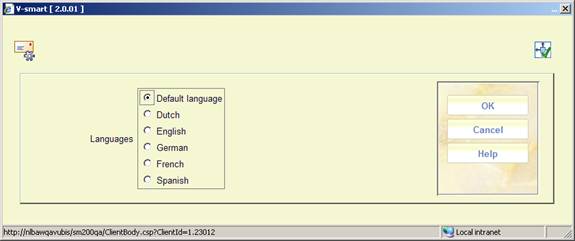
Followed by an input form asking for the introductory text details in the selected language:

This latter function is appropriate for blocked mode, since the label for a block is only displayed once per block and subsequent lines (within a block) start at column position 1 (rather than being indented).
In block mode the above example might look like:

· Document control - Change History
|
Version |
Date |
Change description |
Author |
|
1.0 |
July 2008 |
Creation |
|
|
2.0 |
May 2009 |
new option to define layout for partial order line; changes to layout receipt individual items; new copy option for layouts |
|
|
3.0 |
April 2010 |
warning note for $$variables |
|